Welcome to your go-to guide for choosing the right bathroom tiles for small bathrooms in NZ. If you’re working with limited space, every design decision counts—especially your tile choice. The wrong colour, size, or layout can make a small bathroom feel even more cramped, while the right combination can open it up, reflect light, and create a clean, modern look. In this guide, you’ll learn how to avoid common mistakes, pick tiles that actually work in tight spaces, and make smart choices that suit New Zealand homes and lifestyles. Whether you’re renovating, building new, or just updating your space, this guide will help you make confident, practical decisions without second-guessing.
To choose bathroom tiles for small bathrooms in NZ, go for light colours, medium-to-large tile sizes, and simple layouts that reflect light and reduce visual clutter. Use porcelain or ceramic tiles for durability, and match grout colour to create a seamless look. Prioritize slip resistance and moisture-proof options suited for New Zealand’s climate.
Table of Contents
Common Mistakes To Avoid When Tiling A Small Bathroom
Making the right tile choices in a small bathroom can be tricky. The wrong decisions can make the space feel tighter, dimmer, or simply out of proportion. Before you buy anything, take time to avoid these common tiling mistakes that many New Zealand homeowners make during bathroom renovations.
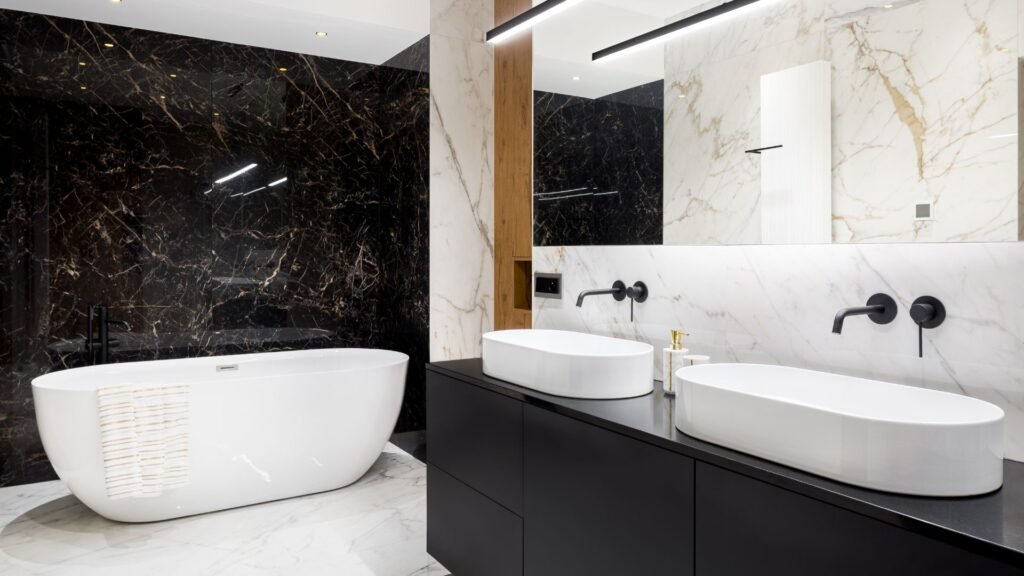
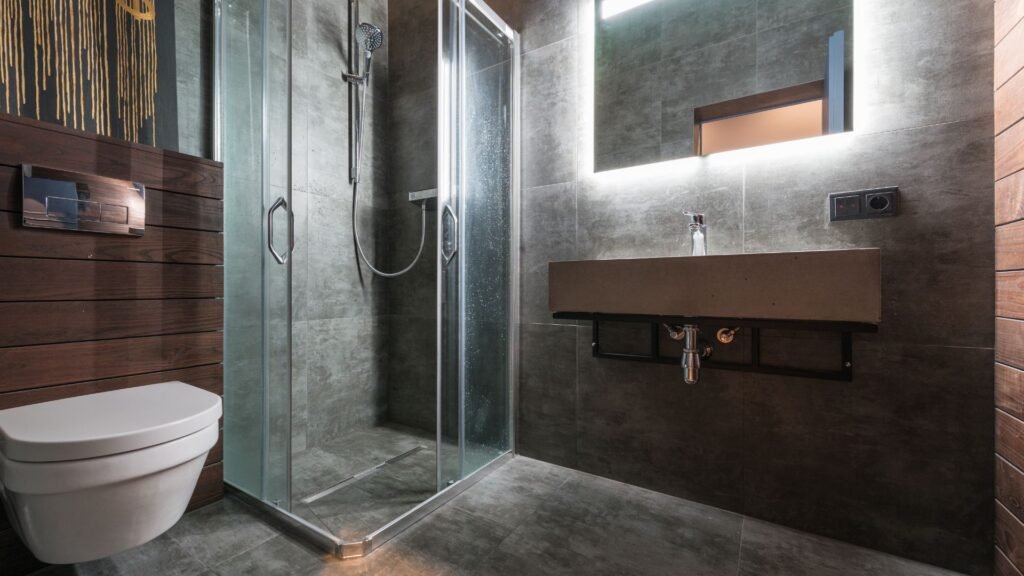
Choosing Tiles That Are Too Dark Or Too Large
Dark tiles might seem stylish and bold, but they tend to absorb light. In a small space, this can make the room feel even smaller. Unless you have exceptional lighting or a very strategic layout, dark tiles on walls or floors are better left for larger bathrooms. Large-format tiles also pose a challenge. While they reduce grout lines (which is good), using tiles that are too large for the space can throw off the room’s balance. Aim for medium-sized tiles that create flow without overwhelming the layout.
Using Too Many Patterns
It’s tempting to go bold with patterns—especially when scrolling through Instagram or Pinterest. But overdoing it can create visual clutter. Mixing several tile styles, colours, or textures might look good in theory, but in a compact bathroom, it can quickly feel chaotic. A single feature wall or patterned floor can work well, but pair it with simple, neutral tiles elsewhere. Keep the design clean and cohesive.
Ignoring Grout Lines And Finishes
Grout colour and line thickness can completely change the look of your bathroom. If grout lines are too thick or if the colour clashes with the tile, it breaks the visual flow and draws attention to the grid rather than the space. On the other hand, matching grout colour to your tiles can create a seamless look. Finishes also matter. Glossy finishes reflect light and can brighten a room, while matte finishes offer a more natural look but absorb more light. Think about the overall feel you want—sleek and modern, or warm and understated.
A Real-World Example From A Kiwi Home
A couple in Hamilton recently shared their small bathroom reno story. They initially chose dark grey tiles with bold geometric patterns on both the floor and one wall. The effect? It looked trendy in the showroom but felt cramped and heavy once installed. After living with it for a few months, they decided to redo the walls with light beige tiles and a soft matte finish. The result was a warmer, more open-feeling space that felt easier to maintain and more relaxing to use.
Avoiding these mistakes comes down to planning, visual balance, and thinking about how each element works together in a small space. With the right approach, you can create a bathroom that feels spacious, modern, and easy to live with.
The Best Tile Types For Small Bathrooms In NZ
Choosing the right tile type is one of the most important decisions when designing a small bathroom. It’s not just about looks—it’s about durability, moisture resistance, ease of cleaning, and how well the tile fits your space. In New Zealand, where homes often deal with fluctuating humidity and cooler climates, your tile choice can also affect long-term maintenance and even resale value. Here’s a breakdown of the most common tile types and what you need to know before buying.
Porcelain Vs Ceramic: What’s Better And Why
- Porcelain tiles are denser, less porous, and more durable than ceramic tiles. They’re fired at higher temperatures, which makes them harder and more resistant to moisture—perfect for wet areas like bathroom floors and walls. They also tend to be more resistant to stains, making them easier to clean in the long run.
- Ceramic tiles are slightly softer and more budget-friendly. While still suitable for bathroom walls or low-traffic areas, they’re more porous and may not hold up as well in moisture-heavy zones like shower floors unless properly sealed. In small bathrooms where every detail counts, porcelain is often the better investment, especially for the floor.
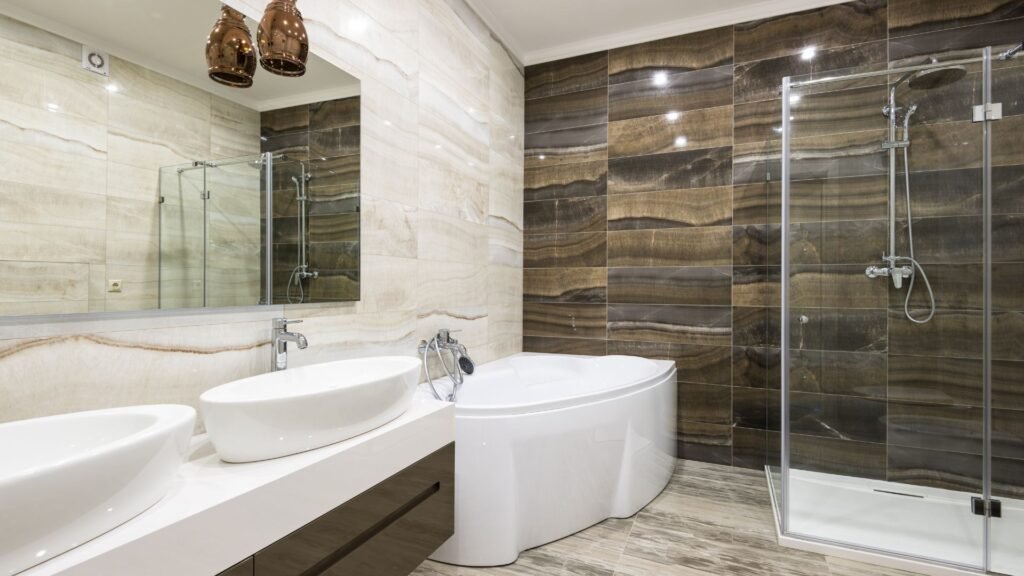
Natural Stone: Pros And Cons
- Natural stone tiles like marble, slate, or travertine can add a luxury feel to a small bathroom. They offer a unique, textured look that synthetic tiles can’t always match. However, they come with added costs and maintenance.
- Pros: Visually striking, adds resale value, long-lasting when sealed properly
- Cons: Requires regular sealing, may be slippery when wet, more expensive to install
For New Zealand homes, stone tiles are best used selectively—on feature walls or as accent pieces. Full stone coverage in small spaces can quickly drive up costs and make maintenance more demanding.
Vinyl Tiles: Are They Worth It?
Vinyl tiles are growing in popularity for bathroom renovations due to their affordability, easy installation, and wide range of designs. Some styles mimic the look of ceramic or stone while being warmer underfoot and more budget-friendly.
That said, vinyl tiles can wear down faster and may not offer the same resale appeal as ceramic or porcelain. They’re water-resistant but not waterproof, so edges and seams must be sealed properly to prevent damage. In a small bathroom, vinyl might work well if you’re looking for a quick refresh without the expense of a full renovation.
Waterproof Ratings And Slip Resistance
Bathroom tiles need to do more than just look good—they must perform under wet and slippery conditions. Always check the water absorption rate and slip resistance rating (often listed as R-ratings or COF) before purchasing.
- For floors: Look for slip-resistant surfaces, especially in shower areas
- For walls: Focus more on waterproofing and ease of cleaning
- For NZ homes: Tiles should meet local waterproofing standards to avoid future moisture issues
Also, make sure tiles are suitable for the area where they’ll be installed—floor tiles should be rated for floors, as wall tiles can be too thin or slippery for safe use underfoot.
NZ-Specific Considerations: Humidity, Moisture, And Resale Value
New Zealand’s climate, especially in coastal and southern regions, brings regular humidity and temperature changes. This can impact tile longevity and indoor air quality if moisture isn’t properly managed.
- Use fully vitrified porcelain for high-humidity zones
- Always waterproof underlayment before installing floor tiles
- Choose tiles that align with local aesthetic preferences to boost future resale appeal
In small NZ bathrooms, every surface needs to work harder. Prioritizing tile quality now can prevent future repairs, mold issues, and buyer hesitation down the line.
Want help deciding which tile suits your space best? Start by collecting a few samples, testing them in your lighting, and thinking about the daily wear your bathroom sees. The right tile won’t just improve how your bathroom looks—it’ll improve how it works.
Colour Choices: What Works In Small Spaces
When designing a small bathroom, the colours you choose can make a big difference. Since you don’t have much space to work with, every design choice counts—especially the colour of your tiles. Colour affects how light bounces around the room, how spacious it feels, and even how clean or relaxing the bathroom looks. Choosing the right shades is one of the simplest yet most effective ways to visually expand a small space.
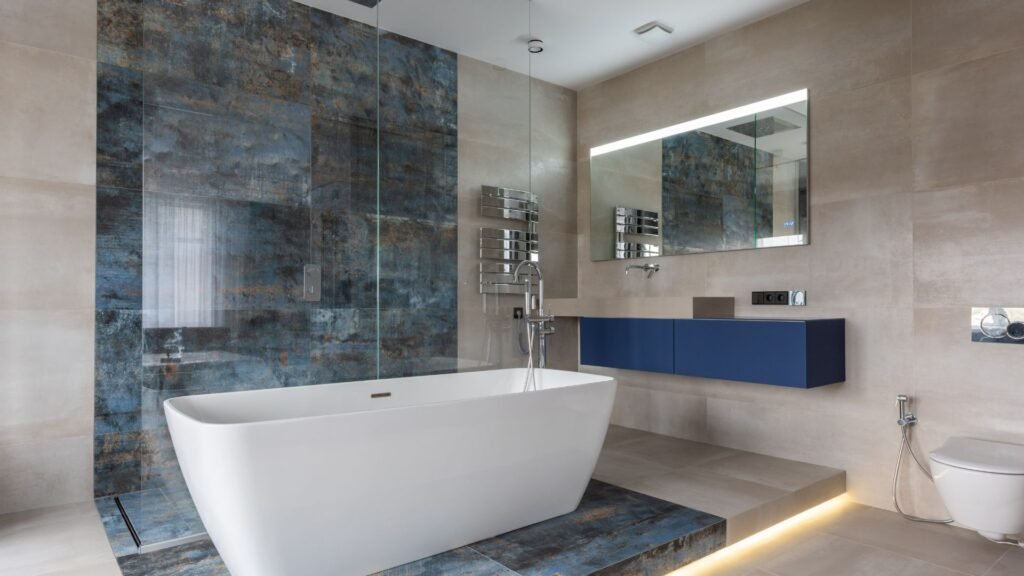
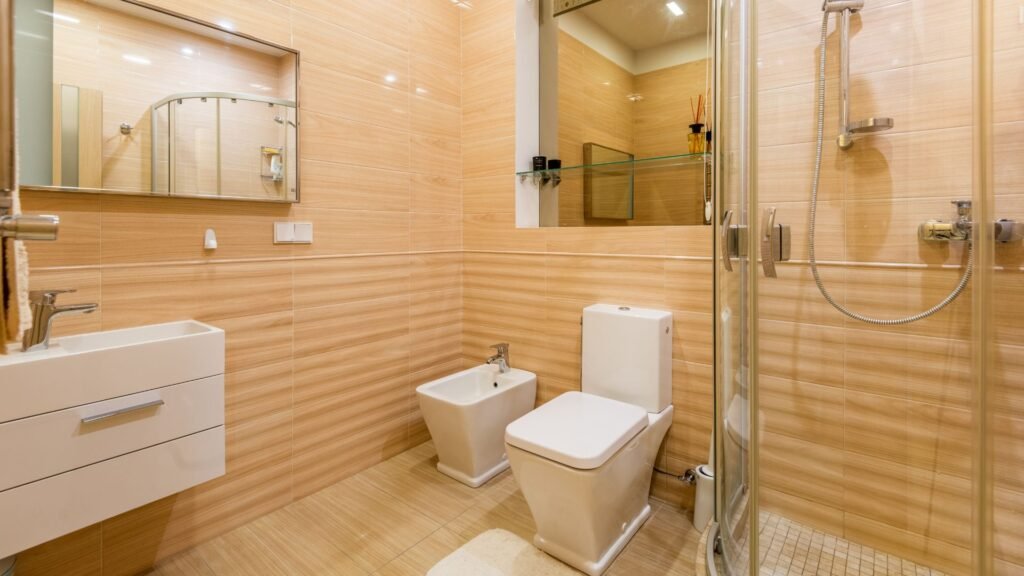
Light Colours = More Space Illusion
Lighter shades help reflect both natural and artificial light, making the room feel brighter and more open. This effect is especially useful in small bathrooms, which often lack windows or receive limited sunlight. White is the most popular choice for this reason. It creates a clean, airy look that immediately makes a small room feel less cramped. Other great options include soft grey, beige, and pale blue. These hues offer a calming feel while still keeping the room visually light and spacious.
Stick With a Simple Colour Palette
Overusing too many colours or patterns can make a small bathroom feel chaotic. Visual clutter tricks the eye into thinking the room is more cramped than it is. Instead, keep your palette limited to one or two main colours. You can always add personality with small touches like towels, plants, or accessories. The more consistent the background (walls and floors), the larger and calmer the room will feel.
Accent Tiles: When And How To Use Them Wisely
Accent tiles can add character and break up the monotony of plain colours, but use them sparingly in small bathrooms. A vertical strip in the shower or a backsplash behind the sink is often enough. Go for subtle contrasts instead of bold patterns. A soft mosaic or a tile with light texture can add visual interest without overwhelming the space. Make sure the accent complements your main tile colour rather than competing with it.
What The Research Says About Colour Psychology In Bathrooms
Studies on colour psychology suggest that pale blue and soft grey promote calmness and relaxation—ideal for a bathroom. Warm neutrals like beige or off-white add warmth without shrinking the space. Bright whites suggest cleanliness, but too much white can feel sterile if not balanced with natural elements like wood or plants. In New Zealand homes where many bathrooms are compact, these calming shades can also contribute to a more spa-like feel, making the room not just appear bigger, but feel better too.
When picking tile colours for a small bathroom, think beyond style. Consider how each colour affects the space, your mood, and the overall usability of the room. Always ask for samples and view them under your actual lighting before making a final choice. That small step can save you from costly regret later on.
Tile Size & Layout Tips For Small Bathrooms
When working with a small bathroom, tile size and layout can make or break the overall look and feel of the space. Many homeowners believe that small bathrooms should only use small tiles, but that’s not always the best choice. In fact, choosing the right size and layout can visually expand your space, reduce clutter, and create a more open atmosphere.
Myth: Small Tiles Always Work Best In Small Spaces
It’s a common belief that using small tiles is the only option for tight spaces. The logic seems simple: smaller room, smaller tiles. But in practice, this can have the opposite effect. Small tiles mean more grout lines, and more grout lines can make the space look busier and more cramped. In contrast, medium-to-large tiles help reduce the number of grout lines, creating a smoother, less interrupted look.
Use Medium-To-Large Tiles To Minimize Visual Clutter
Larger tiles—like 300x600mm or even 600x600mm—can work surprisingly well in small bathrooms. Fewer grout joints make the floor and walls feel more continuous. This trick helps the space feel less chopped up and more unified. For many New Zealand homeowners, this has become a go-to strategy when updating older bathrooms or building in compact modern homes.
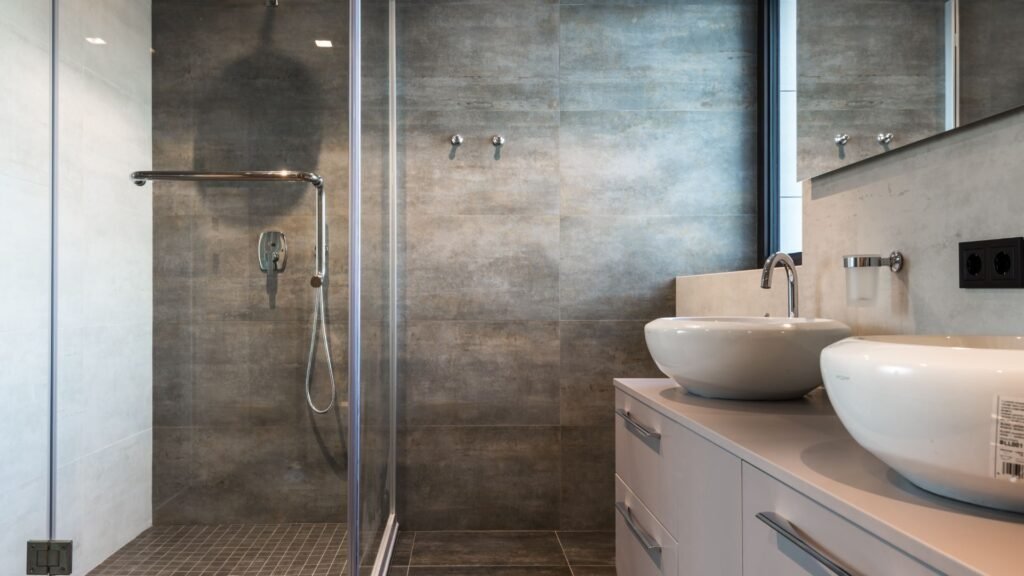
Choose The Right Layout: Vertical Vs Horizontal
The direction you lay your tiles also matters. Horizontal tile placement can make narrow rooms feel wider, which is useful in typical NZ apartment bathrooms or older villas with awkward layouts. On the other hand, vertical layouts draw the eye upward, adding the illusion of height—ideal for bathrooms with low ceilings or limited natural light.
Try A Diagonal Layout To Expand Visual Space
Laying tiles on a diagonal is another technique to make the room appear larger. It breaks up straight lines and tricks the eye into thinking the space is bigger than it actually is. This works well on both floors and walls, especially when paired with light-coloured tiles.
What’s Trending In NZ: Tile Size And Layout Choices
Retailers like Mitre 10 and Tile Space have reported increased demand for large-format tiles in compact bathrooms. Homeowners are moving away from traditional mosaics and opting for sleek, rectangular formats that create a modern, open look. Matte finishes and soft, natural tones are also gaining popularity, adding warmth without shrinking the space visually.
Takeaway
Don’t let the size of your bathroom limit your design choices. With the right tile size and layout, you can make even the smallest space feel calm, clean, and open. Before choosing, test a few layouts using sample tiles and see how they work with your lighting and room shape. It’s all about creating balance—and that starts with smart tile choices.
Grout Colour, Texture & Finish
Choosing the right grout is just as important as picking your tiles. In small bathrooms, grout can affect the overall look, feel, and function of your space. It’s not just a filler—it’s part of the design. Whether you want your bathroom to look bigger, cleaner, or more stylish, grout plays a key role.
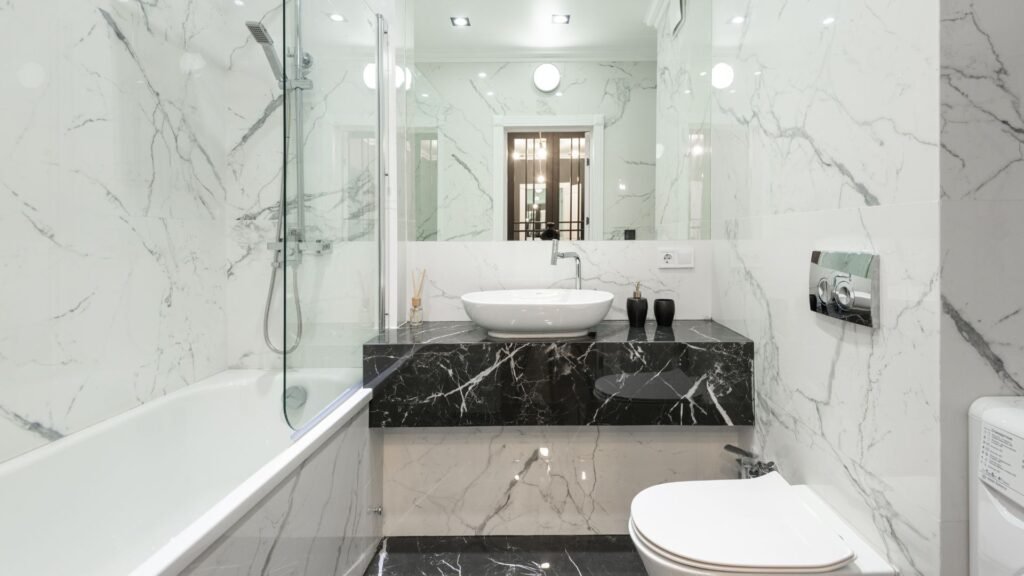
Matching Grout For Seamless Look
When your grout colour closely matches your tiles, the lines between tiles become less noticeable. This creates a cleaner, more seamless look. In small bathrooms, this trick helps make the space feel more open and less segmented. For example, pairing white tiles with white or off-white grout can blur boundaries and reflect more light. This is especially helpful in tight NZ bathrooms with limited natural lighting.
Take note: matching grout doesn’t mean boring. It means your focus stays on the overall tile pattern and colour rather than the individual joints.
Contrasting Grout For Style
On the flip side, using a grout colour that contrasts with your tiles can add character. Think white subway tiles with dark grey or black grout. It highlights the tile shape and layout, adding a modern or industrial feel. This can work well in NZ homes where you want to create a statement or enhance a feature wall.
But use contrast carefully. In small bathrooms, too much contrast can break up the space and make it feel busier. Stick to one feature area, like a backsplash or shower wall, and balance it with neutral elements elsewhere.
Matte Vs Glossy Finishes: What Works Better In NZ Homes
Tile finish affects both look and practicality. Glossy tiles reflect light, making small spaces look brighter and larger. They’re often used on walls, especially in homes that lack windows in the bathroom. But glossy finishes can show water spots and need regular wiping.
Matte tiles offer a softer, more natural appearance. They’re less slippery and ideal for bathroom floors, especially in wet areas. Many NZ homeowners choose matte tiles for safety and a more subtle finish. You can also find matte-finish tiles with a textured surface for added grip.
As for grout, most options are matte by default. But sealants can add a slight sheen. Decide based on the level of contrast you want between your tiles and grout.
Maintenance And Cleaning Tips
Grout can stain, crack, or grow mould if not maintained properly. In New Zealand’s damp climate, this is especially important. Here’s how to keep it looking clean:
- Use a grout sealer after installation to prevent moisture penetration
- Clean grout lines regularly with a baking soda and vinegar mix or a ph-neutral cleaner
- Avoid harsh scrubbing pads that wear down the grout
- Re-seal grout every year or two if your bathroom gets heavy use
White or light-coloured grout will show stains more easily, so choose a shade that suits your lifestyle. Darker grout hides grime better but may fade with strong cleaners over time.
In short, grout is more than just a finishing touch. It can either elevate your tile design or drag it down. Choose with care, especially in small NZ bathrooms where every detail counts.
Budgeting & Tile Costs In NZ
When planning a bathroom renovation in New Zealand, tile selection is one of the biggest factors that will affect your budget. Knowing what to expect cost-wise helps you avoid unexpected expenses and stay in control of your renovation project. Here’s what you need to know.
Price Ranges For Different Tile Types
Tile prices in NZ vary depending on material, size, and brand. Entry-level ceramic tiles typically start at around $20 to $35 per square metre. These are a cost-effective choice for standard bathroom walls and floors.
Porcelain tiles are more durable and moisture-resistant, making them ideal for wet areas. Expect to pay between $40 and $90 per square metre for porcelain. Larger tiles or specialty designs (like wood-look or stone-look finishes) can increase that cost further.
Natural stone tiles like marble, granite, or travertine are at the premium end of the scale. These often range from $100 to $200+ per square metre and require more care when installing and sealing.
If you’re considering mosaic tiles or decorative patterns, remember that these often come in smaller sheets and are priced higher per square metre.
What Adds To Your Cost
Your tile choice is just one part of the total cost. There are several other factors that can increase your overall spend:
- Labour: Hiring a professional tiler in NZ typically costs between $60 to $100 per hour. Complex layouts or small tile pieces may take longer to install.
- Waterproofing: Bathrooms require waterproofing membranes before tiling. This step can cost anywhere from $400 to $1,000 depending on the size of the bathroom.
- Tile waste: Always account for 10%–15% extra tile for offcuts, pattern matching, and breakages. If you’re using diagonals or borders, waste can be even higher.
- Adhesive and grout: These materials add another $10–$20 per square metre to your costs.
Where To Buy Tiles In New Zealand
Several trusted retailers across NZ offer a wide selection of bathroom tiles for all budgets:
- Bunnings: A popular option for affordable and basic tiles, especially for DIYers.
- Tile Depot: Offers a mix of local and imported tiles, with design guidance available.
- Tile Warehouse: Known for quality porcelain and designer options, suitable for more premium bathroom designs.
- Tile Space: A go-to for trendy or high-end tiles with design inspiration in-store and online.
Visiting showrooms can help you get a feel for texture, colour, and finish under different lighting conditions—something online photos often miss.
Tips For Getting Quotes And Not Overspending
- Measure twice: Accurate room dimensions help avoid over-ordering or running short.
- Ask for itemized quotes: When working with a contractor, break down the costs by labour, materials, and any extras.
- Buy during sales: Retailers often run end-of-line or seasonal discounts. Ask if discontinued tiles are available at a lower price.
- Order all tiles at once: Buying in one batch ensures consistent shading and can reduce shipping or delivery fees.
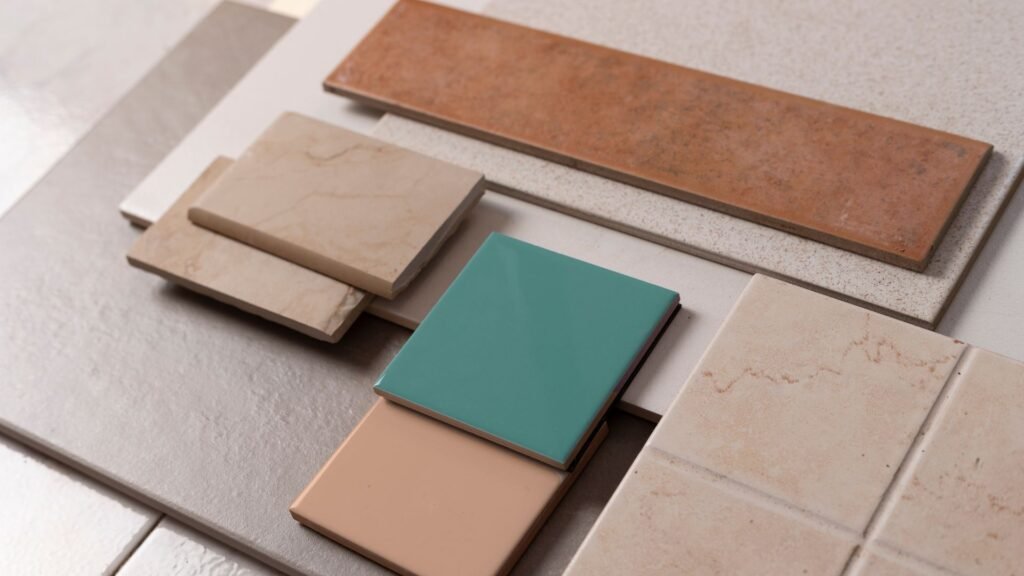
- Sample before committing: Always get a few tile samples and test them in your bathroom’s actual lighting before placing a full order.
Being realistic about your budget—and clear on where your money is going—makes a big difference. By planning ahead and shopping smart, you can create a bathroom you’ll love without blowing your budget.
Bonus Tips From Kiwi Bathroom Renovators
When it comes to choosing bathroom tiles for small bathrooms in New Zealand, real advice from people who’ve actually done it can be more helpful than anything else. Below are a few takeaways from Kiwi homeowners and local tilers who’ve been through the renovation process themselves. Their experiences can help you avoid common pitfalls and make smarter decisions with your space and budget.
Short Quotes Or Ideas From NZ Homeowners Or Tilers
Many homeowners said they underestimated how much planning tile layout needs in a small space. One homeowner from Auckland shared: “I wish I’d tested tile samples on the wall before buying. What looked good in the store felt too busy once installed.” A Christchurch tiler added: “Larger tiles with fewer grout lines usually work better. Less cutting, faster install, and the room doesn’t feel like it’s closing in on you.”
Practical Mistakes They Learned From
A common issue mentioned was choosing tiles based only on aesthetics. Several renovators regretted not checking slip ratings, especially for bathroom floors. Another mistake was ignoring lighting. Tiles can look completely different under natural light versus LED bulbs, and some found their final result darker than expected. A Hamilton homeowner shared: “We chose grey tiles, but in our dim bathroom, they ended up making the space feel smaller and colder.”
What They’d Do Differently Next Time
Almost everyone agreed they’d spend more time viewing tiles in their actual space and lighting. One person said: “Next time, I’ll buy two or three samples and test them for a week before deciding.” Others said they would hire a tiler sooner in the process to avoid miscalculations on quantity and cuts. A professional tiler in Wellington mentioned: “People often don’t order enough tiles. Always get at least 10% extra—more if you have tricky cuts or a feature pattern.”
These firsthand insights are valuable if you’re just starting your renovation. Learning from real mistakes can help you plan smarter, stay on budget, and create a bathroom that feels more spacious, practical, and uniquely yours.
Final Checklist Before You Buy
Before placing your final order for bathroom tiles, it’s important to go through a few essential steps. This checklist helps you avoid last-minute surprises, incorrect orders, or disappointing results—especially when dealing with small bathrooms where every detail matters. Here’s what you should confirm before buying your tiles:
What To Confirm Before Ordering
Don’t rush into a purchase based on looks alone. Make sure the tiles you’ve chosen meet all your practical needs—like water resistance, slip rating, and ease of maintenance. Check if they’re rated for bathroom use and suitable for your floor or wall application. Ask the supplier whether the same tile is available in different finishes or sizes to match across your bathroom design.
Measuring The Space
Double-check your measurements before ordering. Measure the length and width of your bathroom floor and each wall you plan to tile. Multiply to get the square meterage and then add at least 10–15% extra for cuts, breakage, and future repairs. Small bathrooms may seem simple, but irregular shapes and tight corners make accurate measurement even more important.
Checking Samples In Your Lighting
Lighting plays a huge role in how a tile looks. What appears soft beige in-store might turn yellowish under your bathroom lights. Always take home tile samples and view them in the actual lighting conditions of your bathroom—both natural and artificial. This helps you avoid colour surprises and ensures the tiles work with your space’s overall tone.
Confirming Delivery Timelines And Returns
Ask how long it will take for your order to arrive, especially if you’re on a renovation deadline. Some tiles are imported or custom-ordered, which can lead to longer wait times. Also, check the store’s return policy—can you return unused boxes? Will you be charged a restocking fee? These details matter if you over-order or change your mind after delivery.
This simple checklist can save you time, money, and stress. Before you hit “buy,” make sure everything lines up with your space, your vision, and your timeline. That way, your small bathroom project stays on track—and you stay in control.
Transform your small bathroom with the right tiles. Visit Tiler Christchurch for expert tips, product guides, and everything you need to start your renovation confidently.
FAQs: About How To Choose Bathroom Tiles For Small Bathrooms In NZ
What type of tiles are best for small bathrooms in NZ?
Porcelain and ceramic tiles are popular because they’re water-resistant, durable, and come in various styles. Porcelain is denser and more resistant to moisture, making it a great option for New Zealand’s humid bathroom environments.
Should I use large or small tiles in a small bathroom?
Medium-to-large tiles usually work better in small bathrooms. They reduce the number of grout lines, making the space feel more open and less cluttered. Just make sure they’re scaled appropriately to your room size.
What tile colours make a small bathroom look bigger?
Light colours such as white, soft grey, pale beige, or light blue help reflect light and make the space appear larger. Avoid dark or overly busy patterns unless used as an accent.
Can I use patterned tiles in a small bathroom?
Yes, but use them strategically. Add a patterned tile as a feature wall or on the floor to create a focal point. Keep surrounding tiles simple to avoid overwhelming the space.
What’s the best tile layout for a small bathroom?
Horizontal tiles can make a room appear wider, while vertical layouts draw the eye upward and create a sense of height. Diagonal layouts can also create a visual illusion of more space.
Should grout lines match the tiles?
Matching grout creates a seamless, expansive look. Contrasting grout can be stylish but may emphasize the tile edges, which could make the room feel busier.
Are glossy or matte tiles better for small bathrooms?
Glossy tiles reflect more light, which can help brighten a small bathroom. However, matte tiles offer better slip resistance. Consider using glossy on walls and matte on floors.
How much should I budget for bathroom tiles in NZ?
Tile prices in NZ vary widely. Basic ceramic tiles may start around $20/m², while premium porcelain or stone tiles can exceed $100/m². Include extra costs for installation, adhesives, and waterproofing.
Where can I buy bathroom tiles in New Zealand?
Popular retailers include Mitre 10, Bunnings, Tile Space, Tile Depot, and Tile Warehouse. Most offer showrooms and samples so you can compare options before committing.
Can I install bathroom tiles myself or should I hire a professional?
If you have experience and the right tools, DIY tiling is possible. For small bathrooms, precision is key—so many people choose to hire a professional to avoid costly mistakes with cutting, alignment, or waterproofing.
Conclusion
Choosing the right bathroom tiles for a small space in New Zealand might seem overwhelming at first, but it’s absolutely doable when you focus on what matters: light, tile size, and layout. By selecting tiles that reflect light, fit the scale of the room, and follow a clean, simple layout, you can make even the smallest bathroom feel open and fresh. Take your time to compare tile samples in person, test them under your actual bathroom lighting, and don’t hesitate to ask questions at your local tile store or consult a local tiler. Every choice you make—colour, texture, size—adds up to a space that feels more comfortable and stylish. Ready to start? Visit local showrooms, pick up a few samples, and start planning your bathroom transformation today.